CapCut for PC: A Complete Guide to Setup and Install

Introduction
In the ever-evolving world of video editing, CapCut has emerged as a user-friendly and powerful tool that allows creators to enhance their videos effortlessly. Originally designed for mobile platforms, CapCut has recently expanded its capabilities to PC users, providing them with a robust platform for video editing. In this comprehensive guide, we will delve into the CapCut for PC: Download and Installation Guide, offering insights into its features, setup process, and tips to maximize your editing experience.
What is CapCut?
CapCut is a free video editing application developed by ByteDance, the same company behind TikTok. The app is popular among social media enthusiasts and content creators due to its intuitive interface and a wide range of editing tools. With CapCut, users can trim, cut, and merge video clips, add filters and effects, and incorporate music and sound effects—all within a few clicks. If you’re interested in learning more about this powerful tool, check out this guide on how to use CapCut. The application’s transition to PC has made it accessible to a broader audience, allowing for enhanced performance and usability.
Key Features of CapCut
- User-Friendly Interface: CapCut boasts a simple and intuitive interface, making it suitable for both beginners and experienced editors. Users can easily navigate through its features without feeling overwhelmed.
- Comprehensive Editing Tools: From basic edits like trimming and splitting to advanced features like chroma keying and speed adjustment, CapCut offers a comprehensive suite of tools for all editing needs.
- Rich Library of Effects: Users can enhance their videos with various effects, filters, and transitions. CapCut’s extensive library allows for creative flexibility.
- Music and Sound Effects: CapCut provides a vast collection of royalty-free music and sound effects that can be added to videos, enhancing their overall appeal.
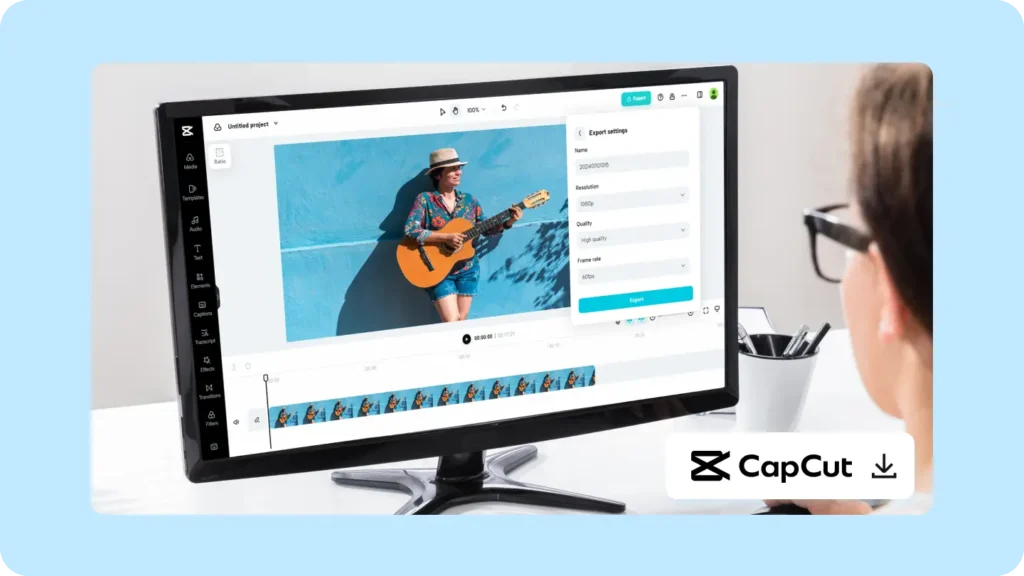
- Export Options: After editing, users can export their videos in various resolutions, including HD and 4K, making it easy to share on different platforms.
Why Use CapCut on PC?

While CapCut started as a mobile application, using it on a PC offers several advantages:
- Enhanced Performance: PCs typically have more powerful processors and larger displays, enabling smoother editing and easier management of larger video files.
- Larger Screen: Editing on a larger screen allows for a more detailed view of your project, making it easier to fine-tune edits.
- Keyboard Shortcuts: PC users can take advantage of keyboard shortcuts to speed up their editing workflow.
- Storage Capacity: PCs usually have more storage space, allowing users to save multiple projects without worrying about running out of space.
CapCut for PC: Download and Installation Guide
Step 1: System Requirements
Before downloading CapCut for PC, ensure that your system meets the following minimum requirements:
- Operating System: Windows 10 or later
- Processor: Intel Core i3 or equivalent
- RAM: Minimum 4GB (8GB recommended)
- Storage: At least 1GB of free disk space
- Graphics: Integrated GPU with support for DirectX 11
Step 2: Download CapCut for PC

- Official Website: Visit the official CapCut website at CapCut.com to download the PC version.
- Select Download: Click on the “Download for PC” button. The site will automatically detect your operating system and provide the appropriate version.
- Save the Installer: Choose a destination on your PC to save the installer file.
Step 3: Install CapCut on Your PC
- Locate the Installer: Navigate to the folder where you saved the CapCut installer.
- Run the Installer: Double-click the installer file to start the installation process.
- Follow the On-Screen Instructions: The installation wizard will guide you through the installation process. Click “Next” to accept the terms and conditions, select your preferred installation location, and click “Install.”
- Complete the Installation: Once the installation is complete, click “Finish” to exit the wizard.
Step 4: Launch CapCut
After the installation is complete, you can launch CapCut by double-clicking its icon on your desktop or finding it in your start menu. Upon launching, you’ll be greeted with a welcome screen, allowing you to start a new project or open an existing one.
Exploring CapCut’s Interface
Once you have successfully installed and launched CapCut, it’s essential to familiarize yourself with its interface.
Main Components of CapCut
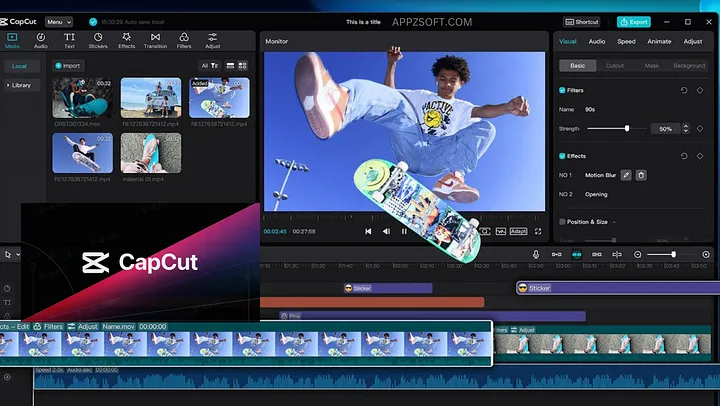
- Project Area: This is where you can view and edit your video timeline. Here, you can add clips, music, and effects.
- Media Library: Access your video clips, images, and audio files. You can import files from your PC directly into this library.
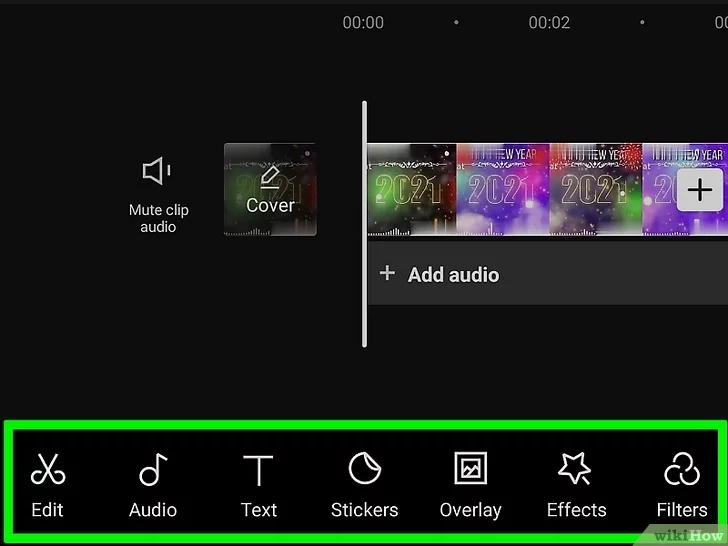
- Editing Toolbar: The toolbar on the left side includes various editing options such as cutting, trimming, and adding effects.
- Preview Window: This is where you can preview your video as you edit, ensuring that all your edits align with your vision.
Common Challenges and Solutions
While installing and using CapCut on PC is generally straightforward, users may encounter challenges. Here are some common issues and their solutions:
1. Installation Errors
- Problem: The installation process may fail or display an error message.
- Solution: Ensure your PC meets the system requirements and that no other applications are using significant resources during installation.
2. Performance Issues
- Problem: CapCut runs slowly or crashes frequently.
- Solution: Close any unnecessary applications running in the background, and consider upgrading your RAM if you frequently edit large video files.
3. File Compatibility
- Problem: Some video or audio files may not import correctly.
- Solution: Ensure that the files are in a supported format (e.g., MP4, MOV for videos and MP3, WAV for audio). Convert files to compatible formats if necessary.
Tips for Maximizing Your Editing Experience with CapCut

To get the most out of CapCut, consider the following tips:
1. Use Keyboard Shortcuts
Familiarize yourself with keyboard shortcuts to streamline your editing process. For example, use Ctrl + C to copy clips and Ctrl + V to paste them.
2. Organize Your Media
Keep your media library organized by creating folders for different projects or types of content. This will save time when searching for specific clips.
3. Experiment with Effects
Don’t hesitate to experiment with different effects and transitions. CapCut’s library is extensive, and testing various combinations can lead to creative breakthroughs.
4. Regularly Save Your Work
Video editing can be resource-intensive, so make sure to save your work frequently to prevent losing progress in case of crashes or power failures.
5. Explore Tutorials
CapCut has an active community, and many tutorials are available online. Watching these can help you learn new techniques and discover hidden features.
Conclusion
CapCut for PC opens up a world of possibilities for video editors, offering a robust platform with a plethora of features designed to enhance the editing experience. This CapCut for PC: Download and Installation Guide has provided you with step-by-step instructions for setup and valuable insights into maximizing your use of the software. Whether you are a beginner looking to create your first video or an experienced editor aiming to refine your skills, CapCut is a versatile tool that can meet your needs. Embrace the creative possibilities that CapCut offers, and elevate your video editing game today!
Incorporating SEO principles throughout the article, from strategic keyword placement to varied phrasing, ensures optimal reach and engagement. This guide aims to serve as a comprehensive resource for users interested in downloading and installing CapCut on their PCs, ensuring they can navigate the process with confidence.
FAQs, CapCut for PC
1. What is CapCut for PC?
CapCut for PC is a video editing software that allows users to create and edit videos with various features, tools, and effects. Originally a mobile app, CapCut has been adapted for use on personal computers to enhance user experience and editing capabilities.
2. How can I download CapCut for PC?
You can download CapCut for PC by visiting the official website or using trusted software download platforms. Ensure that your system meets the minimum requirements for installation.
3. Is CapCut available for Windows and Mac?
Yes, CapCut for PC is available for both Windows and Mac operating systems. You can find versions tailored for each platform.