How to Download and Install KineMaster for Professional Video Editing

KineMaster is one of the most popular mobile video editing applications available today, known for its powerful features and user-friendly interface. It offers a comprehensive set of tools that cater to both beginner and professional video editors. In this guide, we’ll explore everything you need to know about How to Download and Install KineMaster for professional video editing, along with its key features, system requirements, and practical tips to help you make the most of the software.
Introduction to KineMaster
KineMaster is a versatile video editing application that enables users to create high-quality videos directly from their smartphones or tablets. Whether you are creating content for YouTube, Instagram, TikTok, or even professional projects, KineMaster is designed to offer robust editing capabilities on the go. It supports multiple layers of video, images, and text, as well as precise audio control, color filters, transitions, and special effects.
Unlike many mobile editing apps, KineMaster has a wide array of features that make it suitable for professional video editing, including chroma key, speed control, and multi-layer video editing. This makes it an excellent choice for creators who need professional-grade editing tools without the need for expensive desktop software.
Step-by-Step Guide: How to Download and Install KineMaster
Here is a detailed guide on how to download and install KineMaster on both Android and iOS devices.
1. Check System Requirements
Before proceeding with the download, it’s important to ensure that your device meets the system requirements for running KineMaster smoothly.
- For Android:
- OS: Android 5.0 (Lollipop) and above
- Minimum RAM: 3GB (4GB recommended for optimal performance)
- Storage: At least 200MB of free space for the app and more for saving projects
- Processor: Mid-to-high-end Snapdragon or MediaTek processors are recommended
- For iOS:
- iPhone: iOS 11.4 or later
- iPad: iPadOS 11.4 or later
- Devices like iPhone 6s and newer are recommended for better performance
2. Download KineMaster on Android
If you’re using an Android device, follow these steps to download and install KineMaster:
- Open Google Play Store on your device.
- In the search bar, type KineMaster and tap on the search icon.
- Find the app from the results (usually the first one with the official logo) and tap on it.
- Click on the Install button to start the download.
- Once the download is complete, the installation will begin automatically.
- After installation, tap Open to launch KineMaster.
3. Download KineMaster on iOS
For iOS users, the process is just as simple:
- Open the App Store on your iPhone or iPad.
- Tap the Search tab at the bottom and type KineMaster into the search bar.
- Tap on the app when it appears in the search results.
- Click on the Get button, then Install to begin the download.
- Once downloaded and installed, open the app to start creating.
4. Sign In or Create an Account (Optional)
After opening KineMaster for the first time, you will have the option to sign in with your Google, Facebook, or Apple account. While you can use KineMaster without signing in, logging in allows you to unlock certain features, sync projects across devices, and access premium content if you subscribe to the paid version.
Key Features of KineMaster
Now that you know How to Download and Install KineMaster, let’s dive into its features that make it a favorite among video creators.
1. Multi-Layer Video Editing
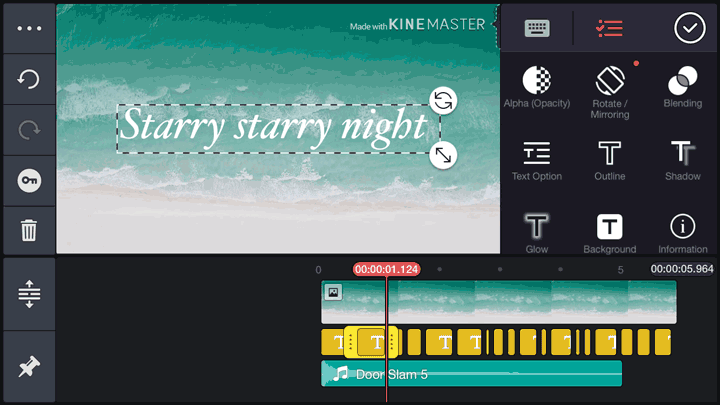
KineMaster allows you to work with multiple layers of video, audio, text, images, and even handwriting. This is an essential feature for creating complex edits with overlays and intricate compositions.
2. Precise Editing Tools
You can trim, splice, and cut your videos with frame-by-frame precision. This ensures that every cut and transition is perfectly timed, giving you full control over your content.
3. Chroma Key (Green Screen)
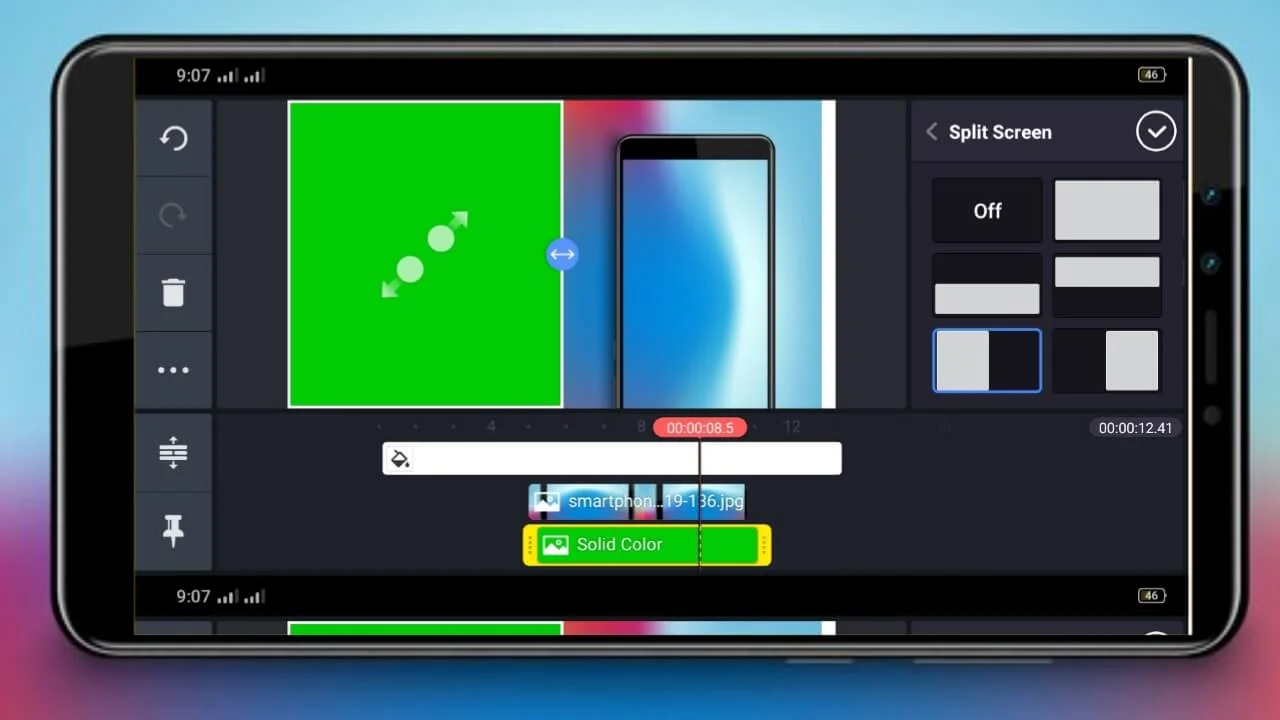
The chroma key tool lets you replace the background of your videos, a feature usually found in high-end desktop software. This is particularly useful for creating professional-looking videos with customized backgrounds.
4. Speed Control
KineMaster offers speed control for both slow-motion and time-lapse effects, giving you the ability to manipulate the timing of your clips creatively.
5. Audio Editing and Mixing
The app includes robust audio tools, such as volume envelope control, EQ presets, and voice changers. You can also import multiple audio tracks and adjust them independently for seamless audio mixing.
6. Transitions and Effects
KineMaster provides a wide range of transitions, animations, and visual effects to enhance your videos. You can use these to create smooth scene changes and professional-looking intros or outros.
7. 4K Export
With KineMaster, you can export your videos in up to 4K resolution at 30fps, ensuring your content looks sharp and professional, even on large screens.
How to Use KineMaster for Professional Video Editing
After learning how to install KineMaster, let’s look at how you can use the app for professional video editing. Here are some tips and tricks to help you get started.
1. Plan Your Video
Before you begin editing, it’s important to plan your video. Outline your project’s structure, including the types of shots you need, the order of scenes, and any special effects or transitions you want to include. This will save you time during the editing process.
2. Organize Your Media Files
KineMaster allows you to import multiple media files, including video, audio, and images. Organize your files in folders on your device so that they are easy to find when importing them into KineMaster.
3. Use Layers Efficiently
For professional-quality videos, make the most of KineMaster’s multi-layer functionality. Add text, logos, or additional footage as overlays to give your video a polished look. You can adjust the opacity of each layer, apply filters, and reposition them as needed.
4. Enhance Audio Quality
Audio is just as important as video quality. KineMaster allows you to adjust volume levels, add background music, and apply voiceovers. Make sure to use the equalizer settings to fine-tune your audio and avoid clipping or distortion.
5. Export in High Resolution
Once you’re finished editing, export your project in the highest possible resolution, ideally 1080p or 4K, depending on your platform. This will ensure that your videos maintain their quality when viewed on different devices.
Conclusion
KineMaster is a powerful and versatile video editing tool that is ideal for anyone looking to create professional-grade videos on a mobile device. By following the steps outlined in this guide, you can easily download and install KineMaster and start taking advantage of its robust features. Whether you’re a beginner or a seasoned editor, KineMaster offers a range of tools that can help you produce high-quality, visually stunning videos.
Now that you know how to install KineMaster and understand its key features, it’s time to start editing! Dive into the app, experiment with its tools, and unleash your creativity.
Frequently Asked Questions (FAQs)
1. Is KineMaster Free?
KineMaster is free to use, but it offers a paid subscription called KineMaster Premium, which removes watermarks and unlocks additional features such as premium transitions, effects, and assets from the KineMaster Asset Store.